Building your own computer can be a rewarding and cost-effective endeavor, allowing you to customize your machine to suit your specific needs. In this step-by-step tutorial, we’ll walk you through the process of assembling a computer from scratch. By the end, you’ll have a functional system that you can be proud of. Let’s get started!
Before you begin assembling your computer, make sure you have all the necessary components:
Central Processing Unit (CPU)
Motherboard
Memory (RAM)
Storage (HDD/SSD)
Power Supply Unit (PSU)
Graphics Card (if not integrated)
Computer Case
Cooling System (CPU cooler and case fans)
Peripherals (keyboard, mouse, monitor)
Screwdriver
Anti-static wrist strap (optional, but recommended)
Step 1: Prepare Your Workspace
Choose a clean, well-lit workspace with ample room to lay out all your components. Work on an anti-static mat or surface if possible. Before touching any components, ground yourself by wearing an anti-static wrist strap to prevent static discharge that could damage sensitive parts.
Step 2: Install the CPU
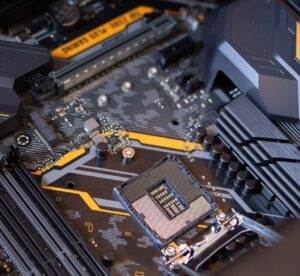
Open the CPU socket on the motherboard.
Carefully align the notches on the CPU with those on the socket.
Gently lower the CPU into the socket, ensuring it seats correctly.
Close the socket, securing the CPU in place.
Step 3: Install the RAM
Locate the RAM slots on the motherboard.
Unlock the tabs on each slot.
Align the notches on the RAM module with those on the slot
.Insert the RAM module, applying even pressure until the tabs click into place.
Step 4: Install the motherboard
Align the motherboard with the standoffs in the computer case.
Gently lower the motherboard into the case, ensuring that the I/O shield fits snugly.
Secure the motherboard using screws.
Step 5: Connect the cables and power supply
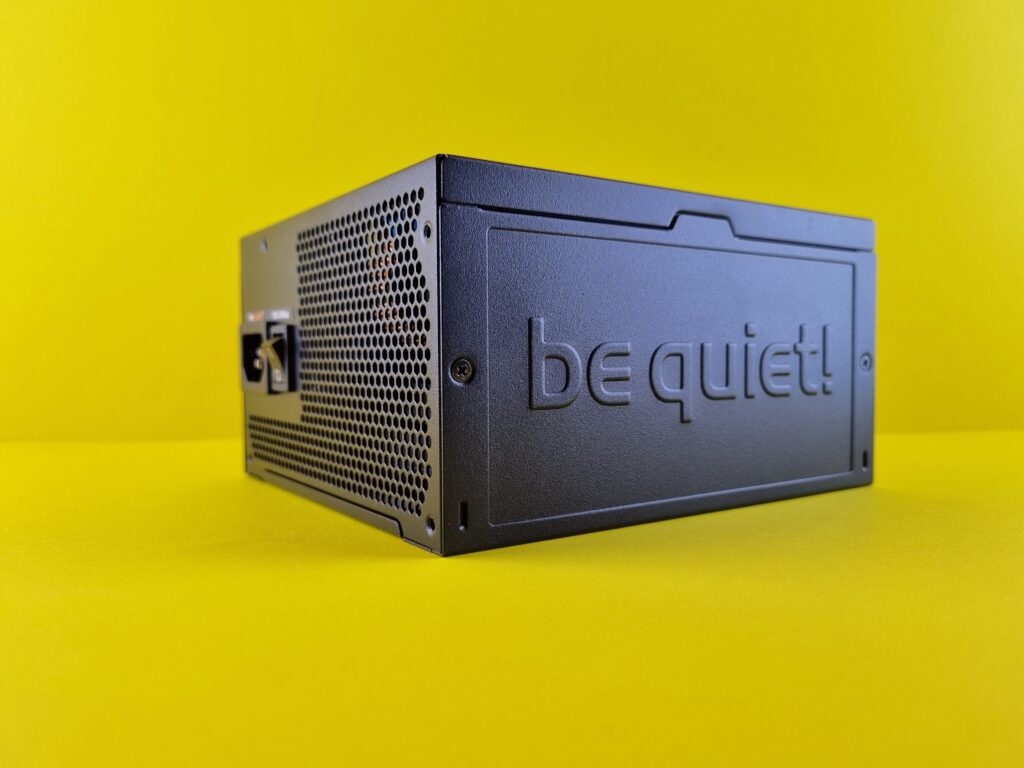
Connect the 24-pin ATX power cable from the PSU to the motherboard.
Connect the CPU power cable (usually 4 or 8 pins) from the PSU to the motherboard.
Attach power and data cables to your storage drives (HDD/SSD).
Connect the front panel headers (power switch, reset switch, LEDs) to the motherboard.
Consult the motherboard manual for the correct connections.
Step 6: Install the Graphics card
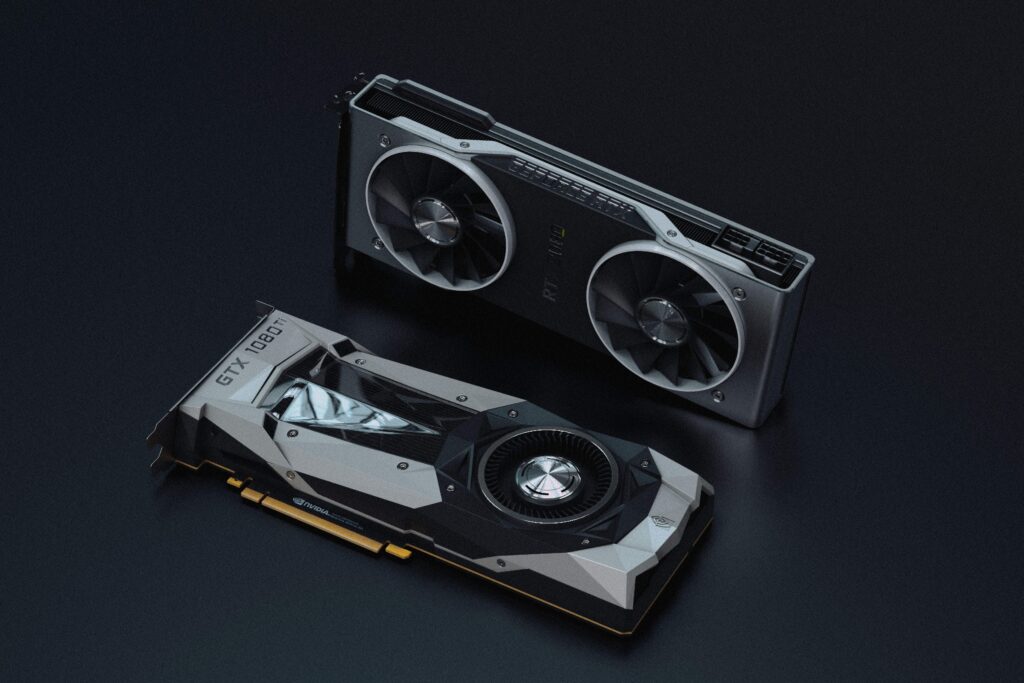
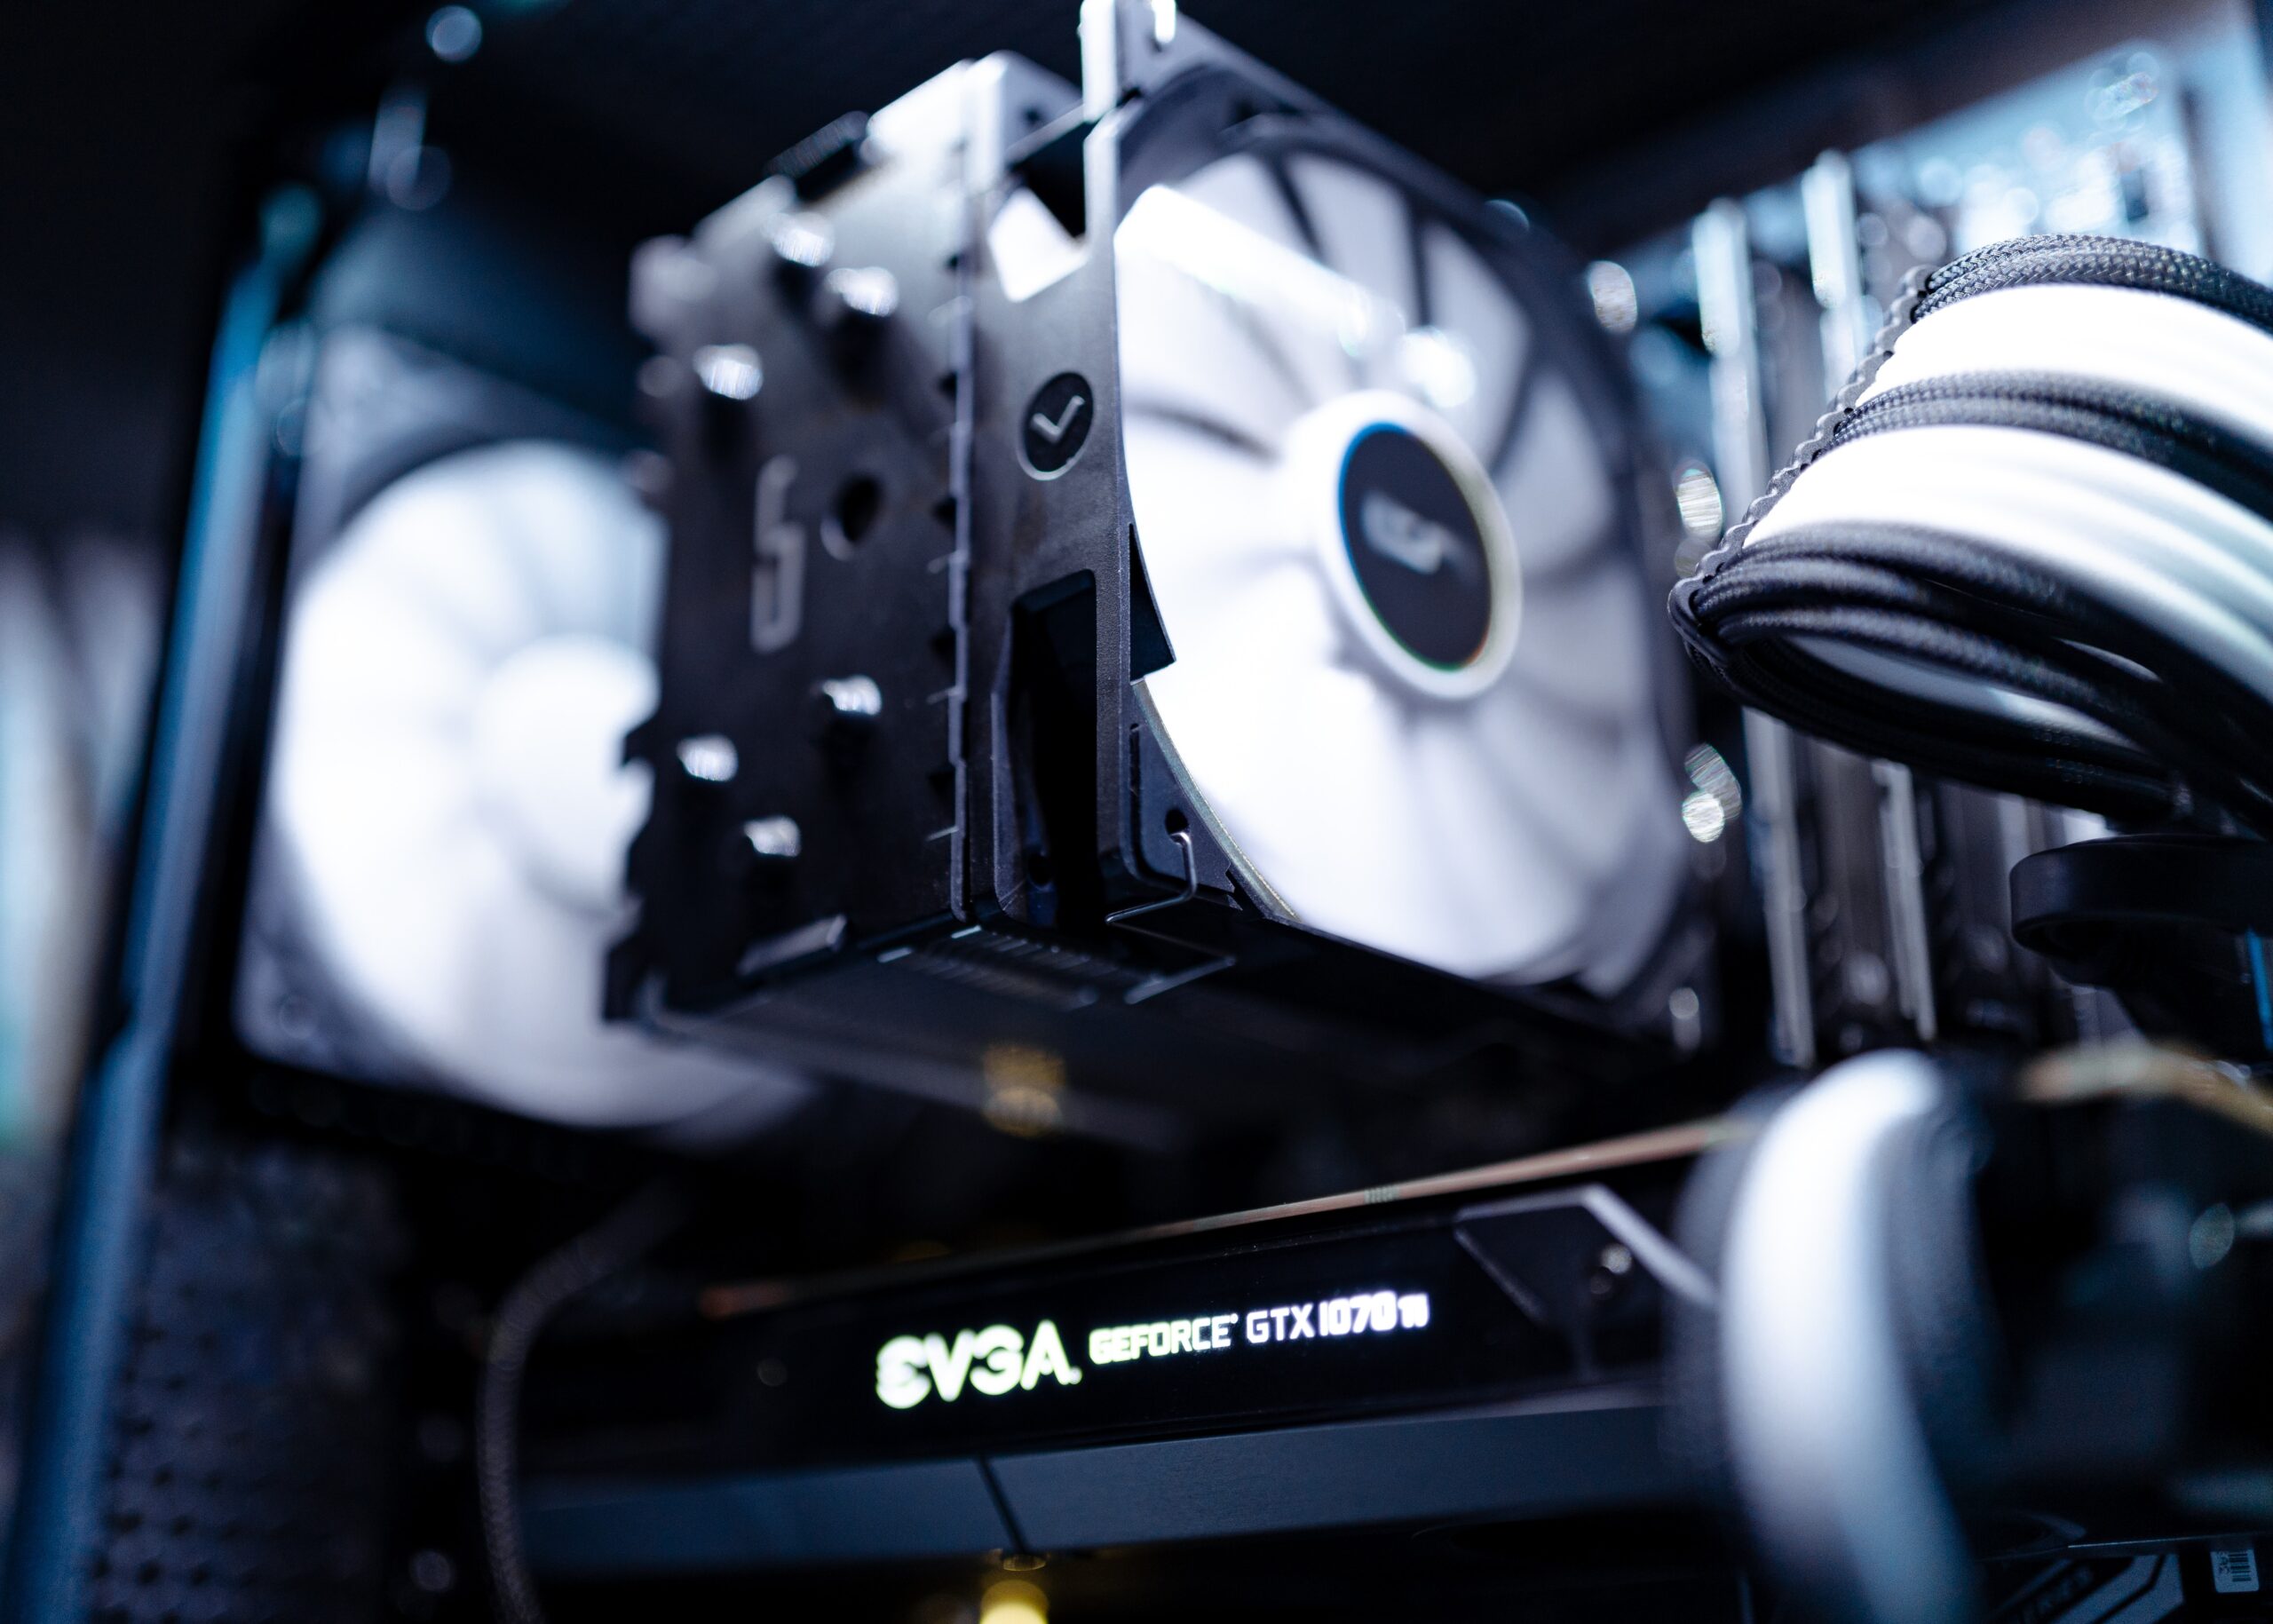
If you have a dedicated graphics card, insert it into a PCIe slot on the motherboard.
Secure it with a screw to the case.
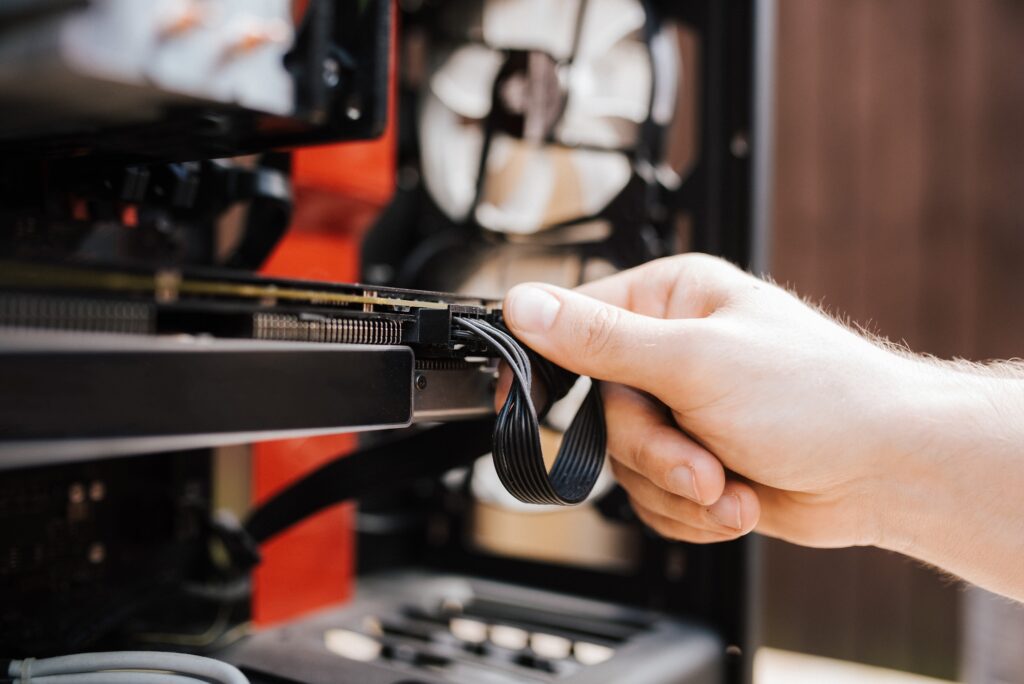
Connect any required power cables from the PSU to the graphics card.
Step 7: Install the cooling system
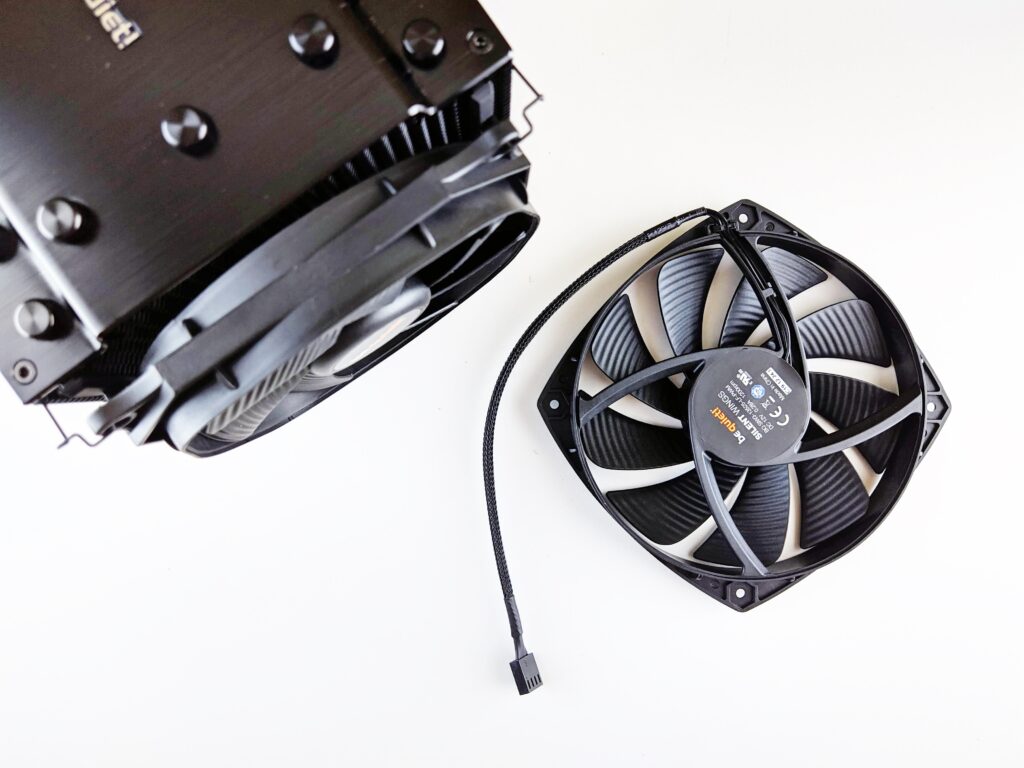
Install the CPU cooler as per the manufacturer’s instructions.
Attach case fans for adequate cooling and airflow.
Ensure that all fans are connected to the motherboard or PSU for power.
Step 8: Cable management
Neatly route and secure cables to ensure good airflow and aesthetics inside the case
Step 9: Test the computer
Connect your keyboard, mouse, and monitor to the appropriate ports.
Plug in the power cable and turn on the PSU.
Press the power button to start your computer.
If your computer boots successfully, you’ve successfully assembled your own computer!